

I’m a sim racer with a passion for Motorsport, good racecraft and the tech side of sim racing. I made SIMRACINGCOCKPIT.GG as a place to share my experiences. I hold an International Class C race licence and write for sim racing store G-Performance and Motorsport resource Driver61.com
Featured image: Cube Controls Formula Pro on Simucube
In this article, I’m going to dispense with enough knowledge and product experience to help you build the best possible “high-end” racing simulator, even on a limited budget.
I’m not going to tell you to compromise at the beginning with a Logitech G29 or what some might consider, “budget” equipment. Instead, I’m going to pick out what I think is the best sim racing equipment that will give you a very close to “high-end” sim racing experience, for a much lower price range. Here’s a slightly better spec build priced at an even lower budget.
My target budget is £4,000 (€4,650 / $5,650). If that seems a lot, no problem – you can build cheaper by following our buyer’s guides, especially our favourite sim rigs, wheels and wheelbases, pedals, and seats. But, as I said if you want a recommendation from us that will give you the best possible high-end experience without you having to spend upwards of 5 figure budgets, read on.
I wish I’d covered this topic sooner:
If you had to build a racing simulator on a budget, but wanted something with all of the feel of a “higher end” racing simulator, what would you build?
So here’s my kit list:
- Sim Lab GT1 Evo cockpit: £285
- Direct Drive wheel mounting bracket: £33
- Simlab GT1 Evo Single Monitor Mount: £51.00
- OMP Racing Champ Seat: £280
- Bucket seat bracket set: £38
- Heusinkveld Sprint Pedals: £501.40
- Simucube 2 Sport: £884.59
- Cube Controls Formula Sport Wheel: £572
- LG UltraWide 34WN750-B 34 Inch QHD monitor: £399.94
- CyberpowerPC Luxe Gaming PC – Intel Core i9-11900KF, Nvidia RTX 3060 12GB, 32GB RAM: £1200
- iRacing $20 one-year membership (for new users) enter code PR-2022NEXTGEN
Total: £3,994.38 / €4,639.35 / $5,650
Now, if you have more money in mine, That;’s great – you can start this journey a little further down the road. Firstly I built my 7 year old a simulator which might be more helpful.
Let’s take a look at each item, starting with the cockpit:
Sim Lab GT1 Evo Cockpit
For the money (Around the £285 mark on the manufacturer’s website), I don’t think you can beat this cockpit. It’s made from 8020 aluminium profile, so flex (for more on what “flex” is and what prevents it in a sim rig, read this article), in the main frame and wheel support, won’t be an issue. More importantly, you will own a sim rig that you’re extremely unlikely to need to upgrade.

You can spend a lot more on a simulator cockpit that has far more flex than the GT1 Evo. It comes with a pedal base compatible with the Heusinkveld Sprints (we’ll come onto the pedals in a moment), and a MiGE motor mount is available to make it compatible with the excellent Simucube Sport 2 Pro. If this cockpit chassis had been available when I built my first simulator, it’s the one I would have started with!
OMP Racing Champ Seat
We’ve covered sim racing seats extensively in our buyer’s guide, but this seat, in particular, catches the eye: the OMP Champ-R:

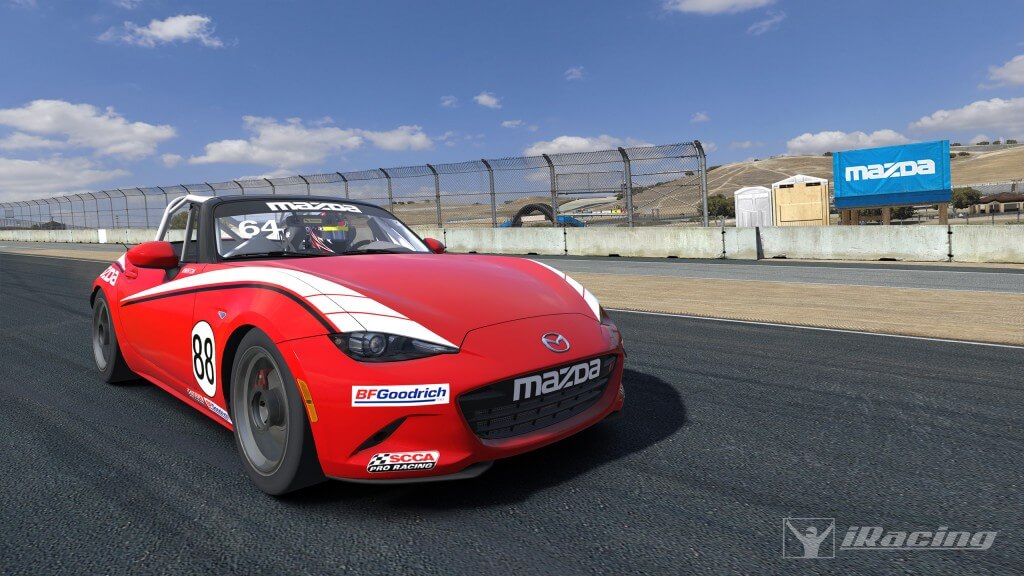
The Champ-R is one of the least expensive FIA Approved Motorsport seats available. It’s OMP, which is the seat manufacturer I use in my Mazda MX5 racer. It’s very rigid and sturdy with a fibreglass shell and you can customise the seat for comfort with the removable lumbar and leg support. You’ll need the mounting brackets to bolt the seat to your chassis, and you’ll be ready to go.

While your cockpit will come with all the slot nuts and “socket-head” bolts for assembly, it’s probable that the mounting bracket and seat won’t come with the fixings you need. I think it’s smart to buy a collection of M5, M6 and M8 slot nuts and bolts. This way you won’t have any surprises when you run out of fixing halfway through a build! Further, it’s smart to buy a good quality selection of Allen keys, and nut spinners – avoid cheap tools because (for example) a cheap Allen key can turn in the socket and then you’ll be in an awful lot of trouble!
Heusinkveld Sprint Pedals
My love affair with the “sim pedals Sprint” as Heuskinveld love to call them has lasted several years. I recommend you try these pedals over say, a set of Fanatec Clubsport V3’s or the soon-to-be obsolete but very, very good Clubsport LC pedals because they’re many times better. As I’ve said before, I found throttle control was markedly improved and braking was so much more accurate compared to my previous Fanatec pedals. To a real-world driver, suddenly the sim car just makes so much more sense – enough that you feel you can finally drive the sim car properly, trail brake and control the car with the throttle just like you would a real track car.

Simucube 2 Sport
I’m a very proud owner of a Simucube 2 Pro. But, I definitely never need a full 25Nm of torque! Driving with the Simucube on full FFB is very difficult and if you can handle more than 3 laps that way, well done you. Given I drive mine at around 40% FFB (which is plenty!) then I know I’d have been just as happy with the cheaper Simucube 2 Sport.
Why not the Fanatec CSL DD, I hear you say?
The Fanatec CSL DD seems to be less than half of the price of items like the Simube 2 Sport, VRS DD wheel and so on – but the torque allocation is far lower and, given some of the early pre-production reviews, they seem to me to be a little non-plussed by the wheel. In this video, Chris Haye doesn’t seem particularly enthused by the wheel and while he says nothing bad about it, it seems he’s pitching this as a good medium-range wheel. As in, this will be a replacement for your belt drive wheel:
Editorial correction – I’ve tested the CSL DD now, it’s a great bit of beginner. Here’s my review:
If you can pre-order one then it might arrive in a few months time, but my gut feeling is that it will be too cheap to compete with a Simucube wheel. Good luck to Fanatec though, who are trying to bring more people into the sport. And that’s cool with me. Editorial note: these are now hugely delayed because PlayStation is dragging its heel for licence approval.
Something to know about Simucubes; firstly they come with a selection of bolts to mount the wheelbase via the faceplate (front mounting). Also, they come with a very good SQR quick-release hub, for both the wheelbase and wheel side. So, when you buy a wheel you’ll have everything you need to mount your wheel to the Simucube.
For more details on the Simucube, check out my review(s) of the Simucube 2 Pro here and here.
Cube Controls Formula Sport Wheel
Honestly, Cube Controls wheel will seem expensive compared to wheel manufacturers like Fanatec. Where Fanatec wheels are for the most part made in China on a large volume basis (which is how they’re so cheap!), Cube Controls are hand-assembled at Cube Controls HQ. They even hand-paint the little Cube Controls logo on the wheel.

The Formula Sport wheel is probably my favourite for quick blasts in the sim. It uses the Simucube Wireless Wheel technology, which means no annoying USB cables! It simply “handshakes” with TrueDrive (Simucube’s wheel properties control software) and that’s about it. Wireless just works. As you can see there’s huge attention to detail in this very solid little steering wheel.
The wheel itself is so beautifully made – carbon front faceplate on an Aluminium machined base, super tactile “VR friendly” buttons – and easily mounted with the Universal hub mount adapter found fitted on the back. The wheel is one of the priciest parts of this setup, but then without a good wheel and pedals, you’re never going to feel fully connected to your sim.
LG UltraWide 34WN750-B 34 Inch Monitor
If you want to get started with a really good, 34 Inch QHD (3440 x 1440) ultra-wide monitor; you really can’t go wrong with this one. It’s ideal for gaming (read our guide to gaming monitors for sim racers here) and comes equipped with AMD’s Freesync (NVIDIA G-Sync compatible too) and if you get this monitor mount for the Simlab GT1 Evo, you’ll be able to bolt it straight to your cockpit.

CYBERPOWERPC Luxe Gaming PC
With the slowdown in the technology market, particularly for GPUs and CPUs, you can now get a very nice sim racing PC for pretty reasonable money. Take this CYBERPOWERPC Luxe Gaming PC, with an Intel Core i9-11900KF CPU, a Nvidia RTX 3060 GPU, 32GB RAM a 1TB NVMe SSD, built into a Corsair 4000D Airflow case.

The CPU and motherboard alone will be relevant for years to come, and, if you choose to you can update the GPU a little later on.
In terms of performance, this machine (for a quarter of the cost) is pretty close performance-wise to our DIY built higher-budget sim racing PC! The only difference is the GPU which we’ve upgraded to a 4090.. Ps there’s almost so much flux in the gaming PC world I’d recommend you keep an eye on my article covering sim racing PCS.
iRacing
Obviously, iRacing can seem expensive but for $20 for the first year, I think it’s a really good deal. And, if you only do the free championships such as Formula Vee and MX5’s you won’t find yourself spending any extra money. If you’re interested in a deeper primer on iRacing check out our guide.
So, that’s the kit list done. You’ll note that I haven’t mentioned a shifter, which might be important. Add around another $200 / £150 and take a look at our shifters guide here.
When putting the sim together, the only real hurdle is learning to do a nice job with the slide bolts when assembling your cockpit. It’s best, I think, not to tighten all of the bolts until you’re happy with the construction. You need a lot of torque to tighten everything but be careful not to let an Allen key slip.
Mounting the pedals and wheelbase are similar in nature, in that it pays to have everything positioned nicely before you tighten the bolts.
Set aside at least a day, perhaps more to assemble everything! You may find yourself wanting to make changes after a few days, too. My suggestion is to build the rig as well as you can, get iRacing installed and have a great time before starting to make changes and getting serious.
If you follow this guide you’ll have a racing simulator put together for less than £4000 (€4,650.44 / $5,653.59). At this level, I think that’s pretty good!
Here are a few more useful resources to help you get started:
- Getting Started with a Simucube Direct Drive Wheel
- Setting your Simucube Profiles for iRacing, Assetto Corsa and more
- Driver61’s sim racing fundamentals class
- How to setup and calculate FOV
- How to install your Simucube